
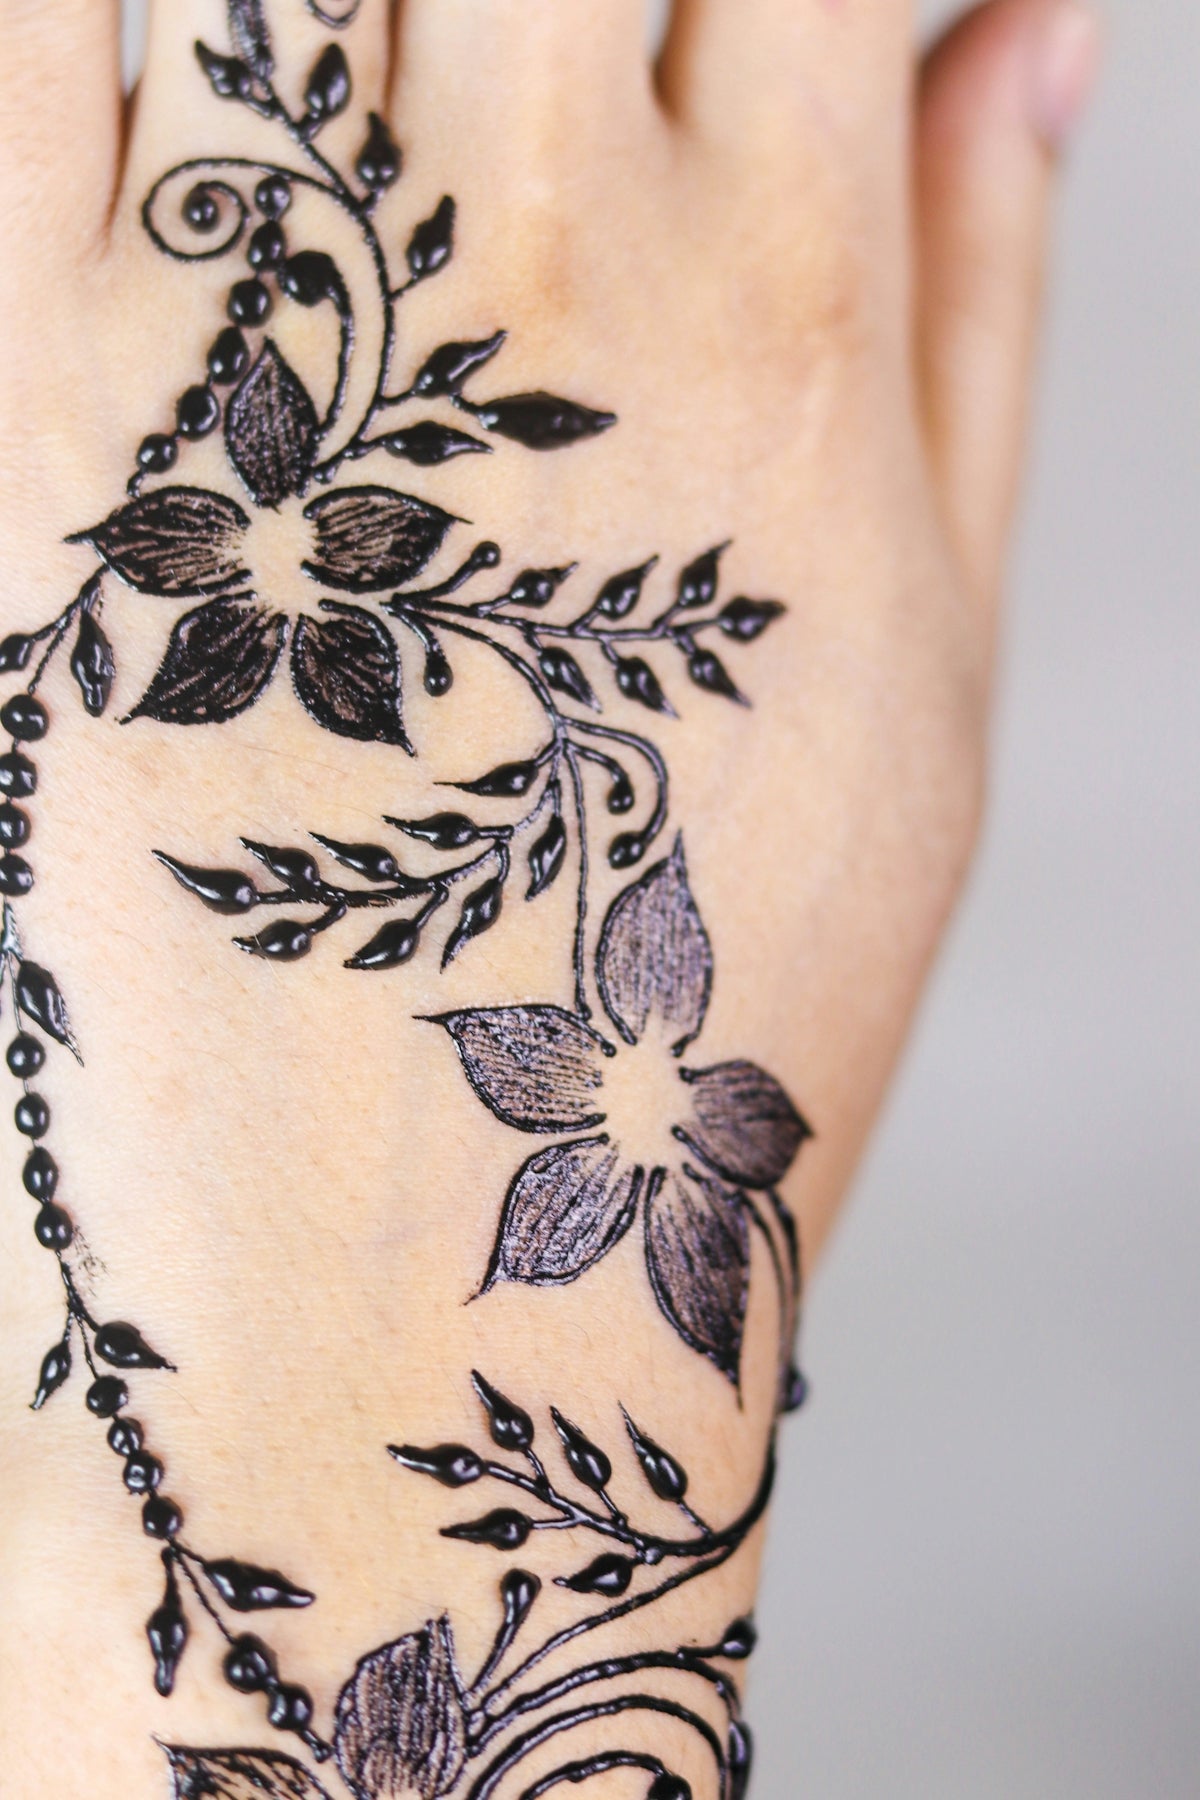
In today's fast-paced tattoo industry, adaptability is key. As a tattoo artist, whether you're just stepping onto the scene or you've been inking for years, you understand the importance of precision and creativity in your work. Enter Procreate – a digital canvas that has revolutionized tattoo design. If you're not already leveraging these tools, it's time to start. Take a step to upgrade your artistry today and Explore Procreate tools that make you feel like a pro.
Introduction to Procreate Tattoo Brushes
Procreate is renowned for its versatile and dynamic features, especially when it comes to creating stunning tattoo designs. With a multitude of Procreate tattoo brushes and tools, it allows for a fluid transition between digital and skin inking. These brushes are crafted to mimic the real-life equivalents, ensuring that your designs maintain their integrity from concept to completion. For a deeper dive into this, check out our article on Procreate Tattoo Brushes for Professional Tattoo Artists.
The Importance of Digital Tattoo Design
Before jumping into stencil creation, let's cover why digital tattoo design has become essential. Gone are the days of guesswork on paper; digital platforms offer precise control over lines, ease of corrections, and experimental freedom. Procreate, in particular, supports layers, which allows artists to play with elements without compromising the original design. This elevates the quality of work and reduces the chance of making errors once the needle comes into play.
Getting Started with Procreate for Tattoo Stencils
Step 1: Setting Up Your Canvas
Preparing your workspace in Procreate is crucial. Choose a canvas size that reflects the physical size of your intended tattoo. This allows you to visualize the design in true proportions, adjusting details to fit perfectly on skin.
Step 2: Selecting Procreate Tattoo Brushes
Choosing the right brush is key to creating a realistic and precise stencil. Our PRO TATTOO KIT includes high-quality brushes that cater to every tattoo style, from delicate line work to intricate patterns. Familiarize yourself with different brushes and test them on practice canvases to see which ones align with your artistic style and the tattoo’s requirements.
Step 3: Creating the Outline
Start your stencil with a bold outline, which is the backbone of your design. Use a brush that offers clear and sharp lines. You can adjust the opacity and thickness to suit the complexity of your design. Procreate's intuitive interface allows you to focus on creativity while ensuring precision with its pressure sensitivity and stabilization features.
Techniques for Realistic Tattoo Shading in Procreate
Once your stencil is outlined, shading becomes your next focus. Mastering shading is essential for bringing tattoos to life. With Procreate, you can achieve pro-grade shading using its broad range of airbrush and traditional shading brushes. Learn these techniques in our guide on Unlock Pro-Grade Realistic Tattoo Shading Using Procreate.
- Layer Gradients: Utilize layers to build depth in your designs. By layering different shades and adding highlights, you can mimic the natural shadows and highlights seen on human skin.
- Brush Opacity: Control the transparency of your brushes to smoothly transition between light and dark areas, providing a more lifelike appearance.
- Smudge Tool: Procreate’s smudge tool helps in blending shades seamlessly, which is crucial for creating smooth gradients in your tattoo designs.
Finalizing Tattoo Designs with Procreate
Step 1: Adding Detail
Once shading is complete, add smaller details to push the realism further. Fine brushes are ideal for intricate designs such as filigree or dotwork. Ensure that detail areas are clear without overcrowding your primary design.
Step 2: Color Layers
If your tattoo includes colors, use Procreate’s layer options to experiment with different color palettes. This non-destructive method allows you to preview multiple variations before making your final choice.
Step 3: Double-Check and Export
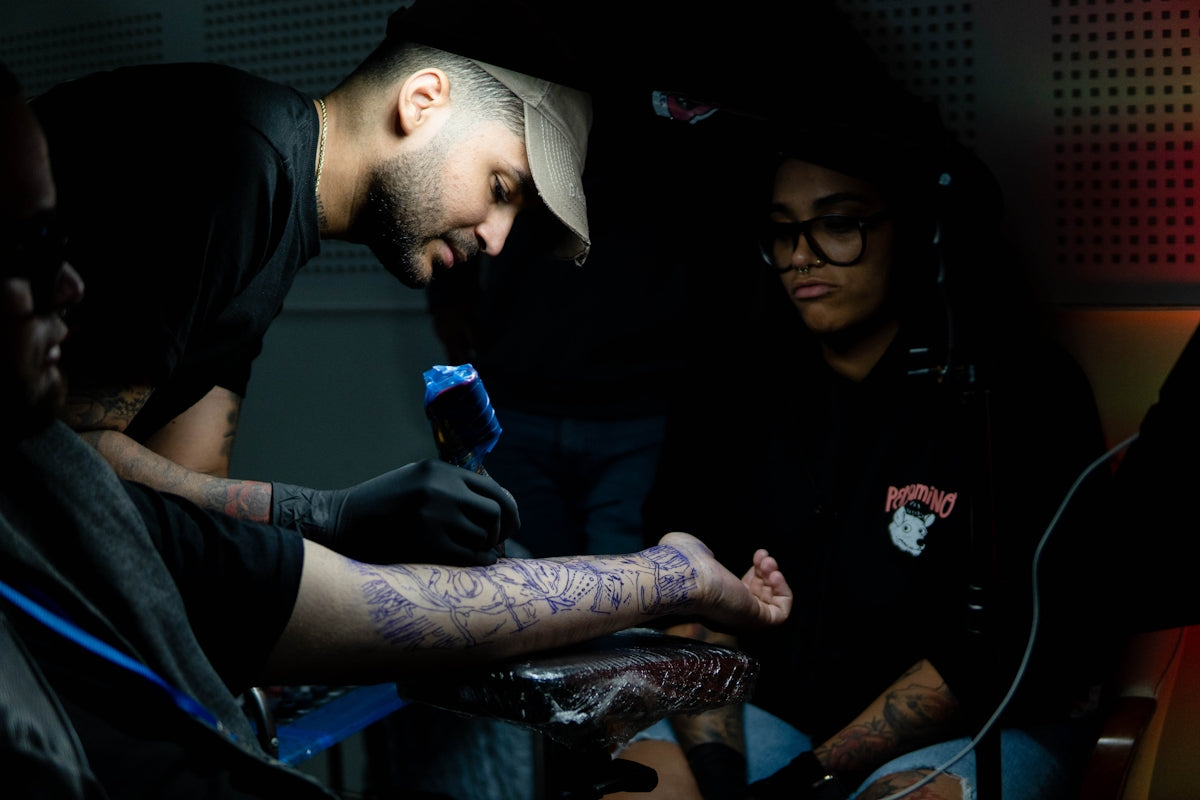
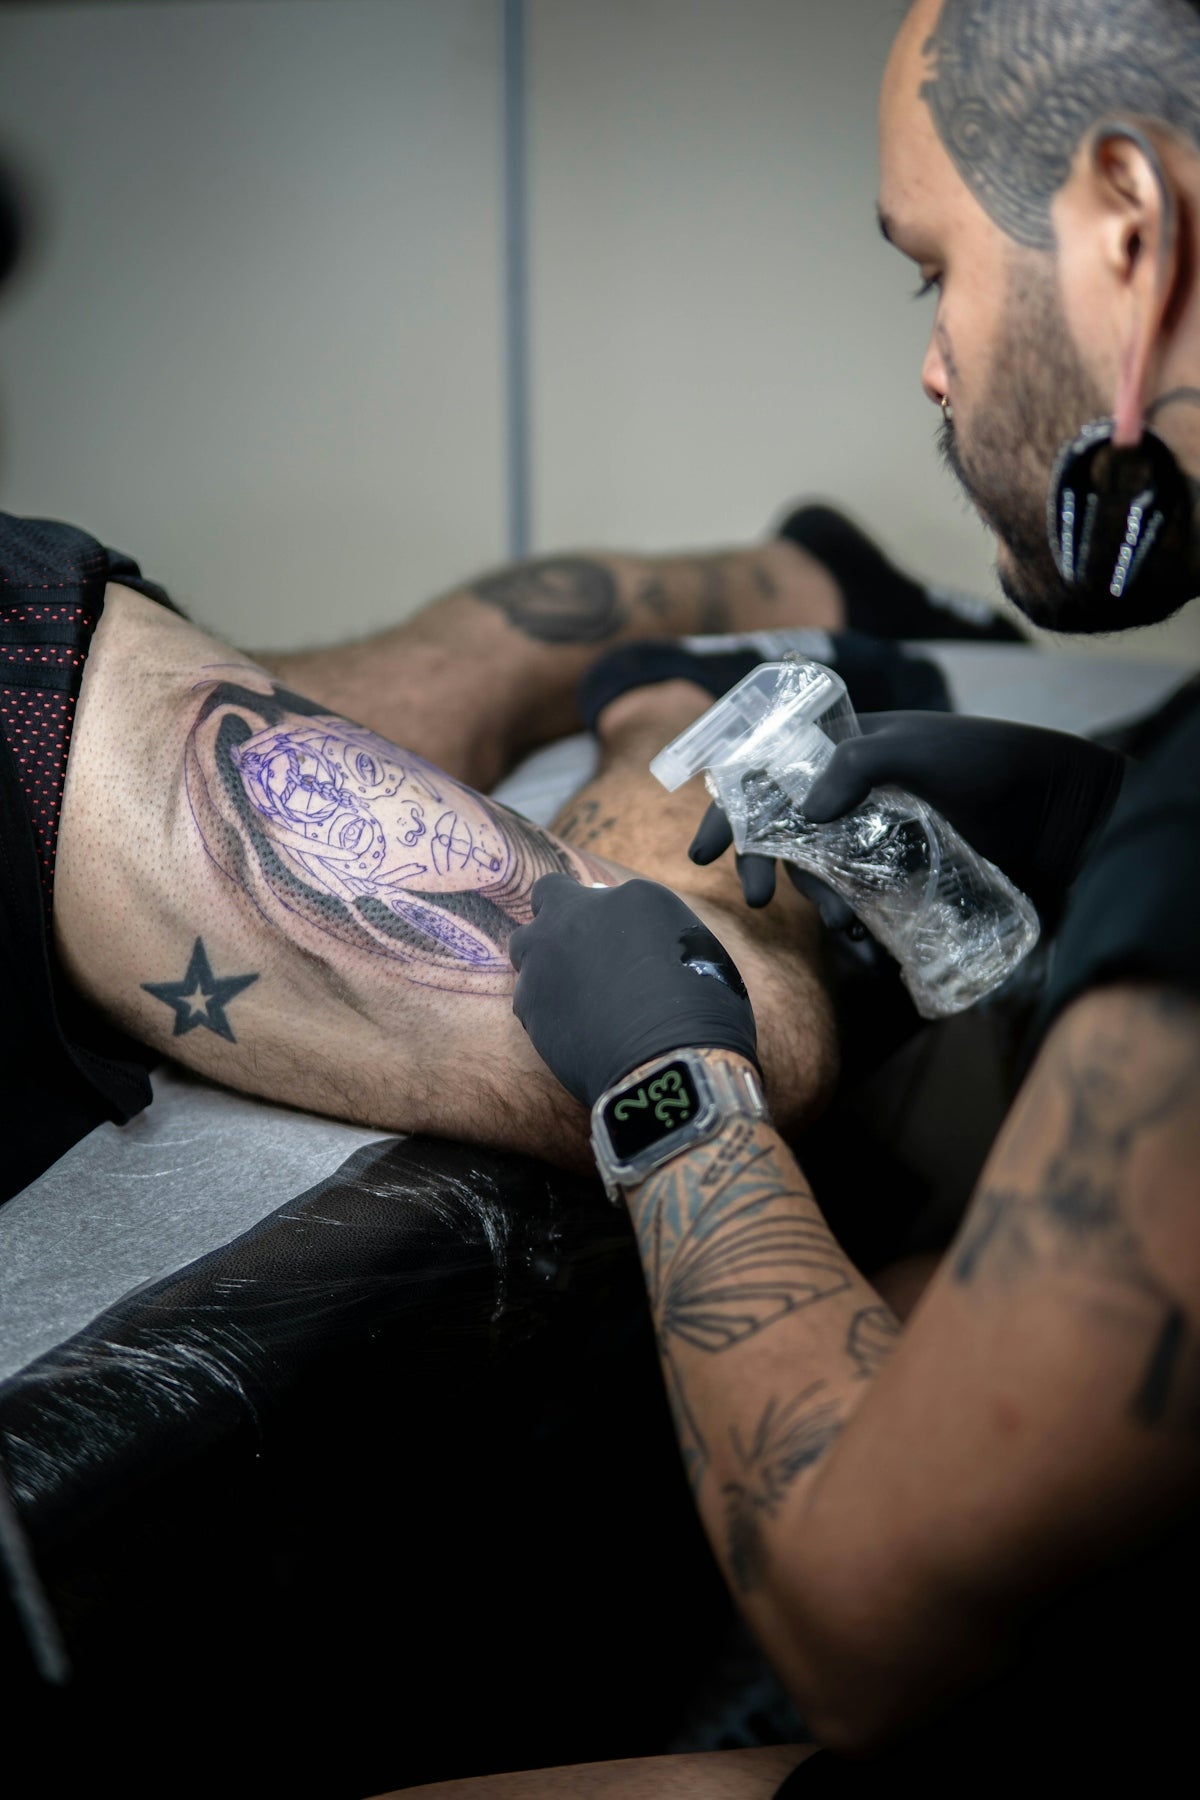
Before exporting, zoom in to check for any inconsistencies or areas that require refinement. Once satisfied, export your design ensuring it retains high resolution. This provides a clear stencil when applied to the client’s skin.
Conclusion
Leveraging Procreate tools for tattoo stencil creation can effectively enhance your artwork's quality and precision. From selecting the right canvas and brushes to mastering shading techniques, this digital toolkit is invaluable. With consistent practice and exploration, you can achieve designs that are not only precise but also breathtakingly realistic.
Don't just settle for conventional methods. Elevate your craft by embracing this technological advancement and let your creativity soar. Begin your journey by trying out tools from the PRO TATTOO KIT and witness transformative improvements in your artwork. Ready to redefine your tattoo artistry? Start designing tattoos the right way.
For more insights and in-depth guides on mastering digital tattoo design, visit our Best Digital Tattoo Design Practices Using Procreate Tools. Your path to stunning tattoo stencils starts now.

Leave a comment
This site is protected by hCaptcha and the hCaptcha Privacy Policy and Terms of Service apply.