
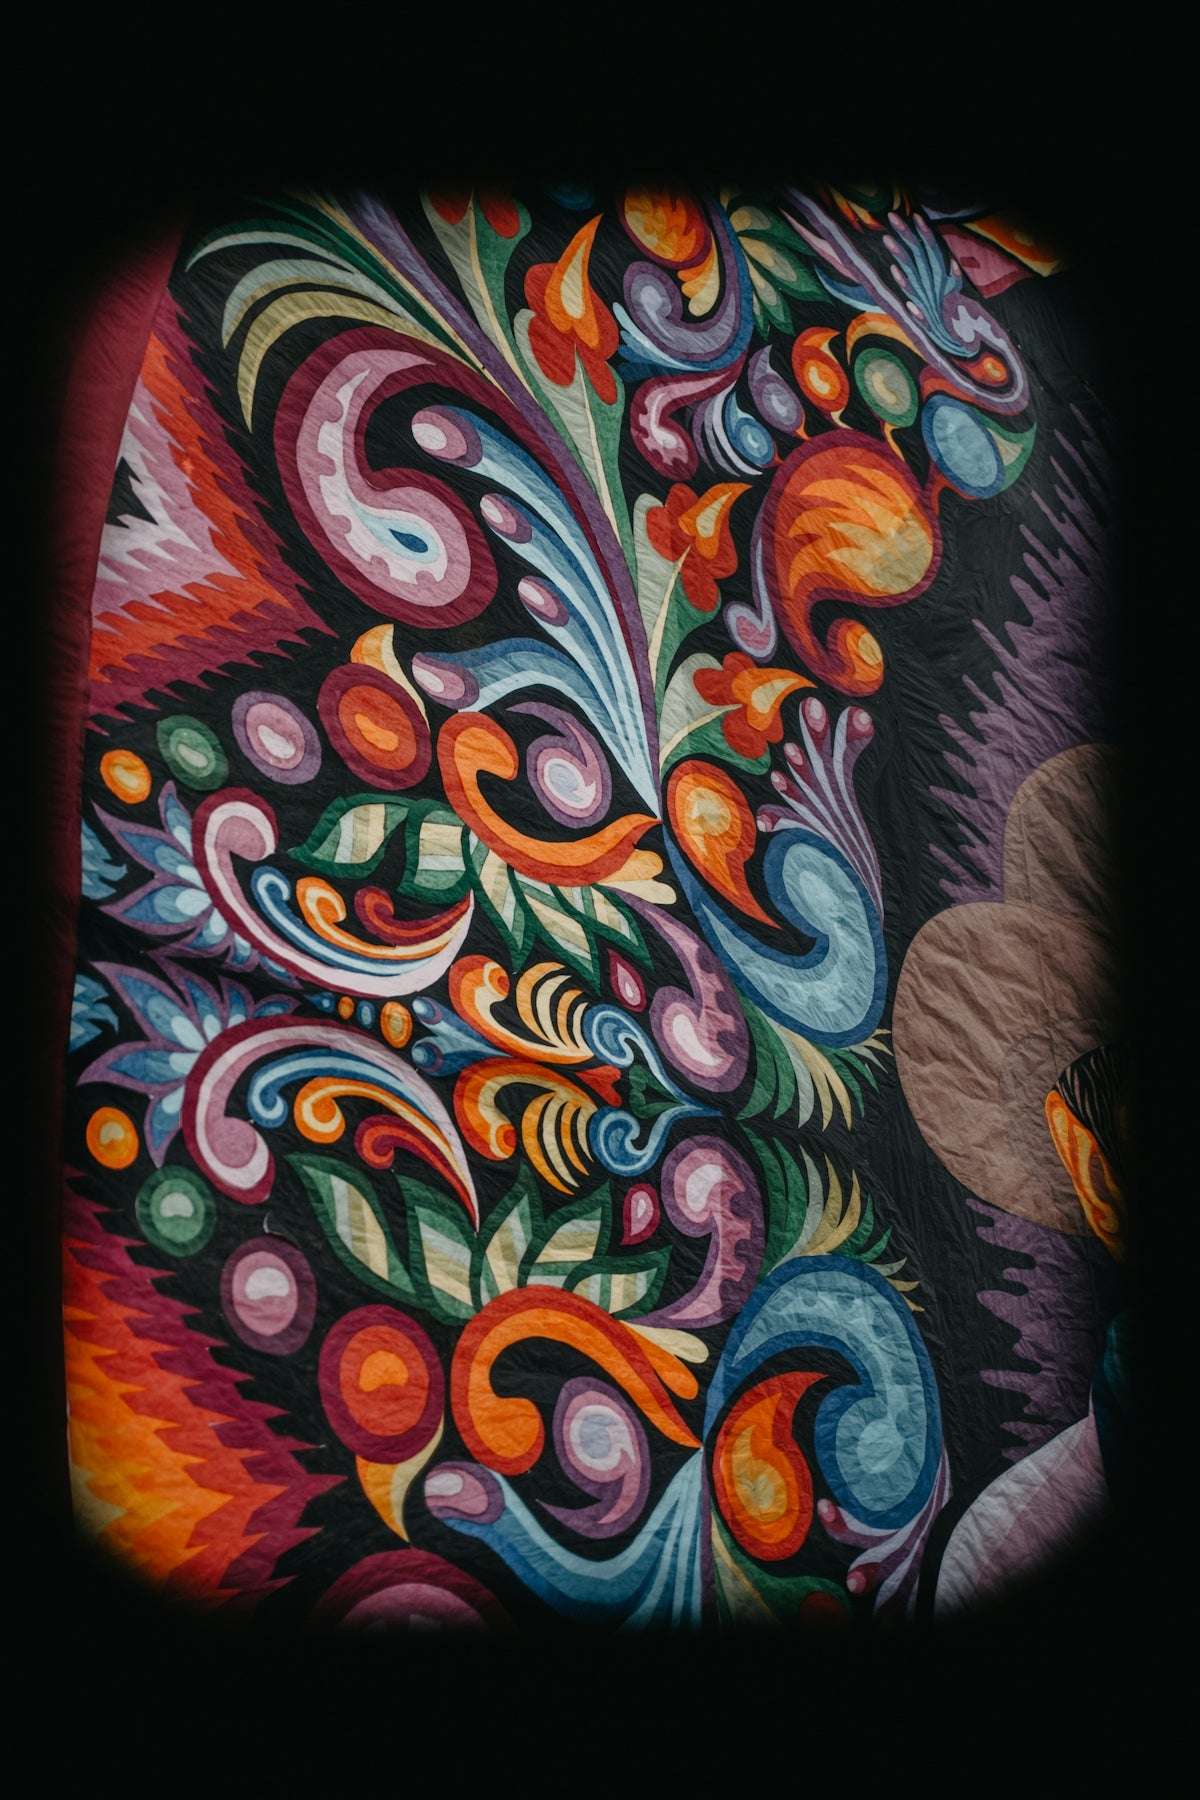
The world of digital tattoo design is expansive and filled with endless potential for creativity, especially when using Procreate. Whether you’re an aspiring tattoo artist or a seasoned professional, mastering the art of realistic shading is crucial to elevate your work. Dive into these practical techniques, using top-of-the-line Procreate tattoo brushes, to enhance your digital tattoos. Start designing tattoos the right way and upgrade your skills with the tools available at TattooBrushes.com.
Table of Contents
- Table of Contents
- Understanding the Basics of Tattoo Shading
- Implementing Realistic Shading Techniques
- Technique 1: Gradient Shading
- Technique 2: Cross-Hatching
- Technique 3: Dotwork
- Utilizing the Best Tools
- Advantages of the PRO TATTOO KIT
- Final Thoughts
- FAQs
Procreate has revolutionized digital art, providing artists with a platform to create intricate and realistic designs. At the heart of this revolution is the ability to effectively shade tattoos, giving them depth and a lifelike appearance. Here, we’ll explore expert techniques to help you achieve realistic shading using Procreate and how the PRO TATTOO KIT by TattooBrushes.com can be a game-changer on your artistic journey.
Understanding the Basics of Tattoo Shading
Before diving into advanced techniques, it’s essential to understand the fundamentals of tattoo shading in Procreate. This involves choosing the right tools and understanding how light and shadow affect a design.
- Start with the Right Brushes: Choosing the right Procreate tattoo brushes can drastically change the outcome of your tattoo design. Selecting brushes that mimic real tattoo needles ensures that your shading looks authentic. TattooBrushes.com offers Procreate Tattoo Brushes for Professional-Grade Tattoo Art, perfectly crafted to enhance your digital creations.
- Master Light and Shadow: Realistic shading depends on the ability to mimic how light interacts with the skin. Experiment with different lighting scenarios to see how they influence shadows and highlights.
- Layering Techniques: Effective layering can bring depth to your design, making it appear more lifelike. Utilize Procreate's layering capabilities to build up shadows and highlights gradually.
Implementing Realistic Shading Techniques
Once you have the basics down, it's time to explore techniques that will help you achieve a professional finish.
Technique 1: Gradient Shading
Gradient shading is a cornerstone of realistic tattoos. It involves transitioning seamlessly from one shade to another, creating soft, subtle differences in tone.
- Choose the Right Brush: Use gradient brushes from Procreate or consider the specialized brushes from TattooBrushes.com.
- Layer Gradually: Begin with a lighter shade and layer progressively darker tones over it, blending softly to create a smooth transition.
- Adjust Opacity: Tweak the opacity settings in Procreate to achieve the desired transparency and depth.
This article on Top Tools for Sketching Digital Tattoo Designs in Procreate is a great resource for refining this technique.
Technique 2: Cross-Hatching
Cross-hatching is an excellent method for achieving texture and dimension, often used in traditional tattooing.
- Use Fine Brushes: Select fine-tipped Procreate tattoo brushes that imitate the precision of a tattoo needle.
- Overlap Angles: Draw sets of parallel lines at varying angles to build up depth.
- Vary Pressure and Spacing: Adjust the pressure on your stylus and vary the spacing between lines to create different shades.
Technique 3: Dotwork
Dotwork is a popular technique that involves using numerous tiny dots to build up shading.
- Pick a Dot Brush: Utilize dot brushes that allow for precision and consistency.
- Density Control: Control the density of the dots to vary the shading intensity.
- Layer for Depth: Just like in gradient shading, start light and build up with more densely packed dots.
Utilizing the Best Tools
To transition from good to extraordinary, having the right set of tools is critical. The PRO TATTOO KIT available at TattooBrushes.com is expertly crafted to meet the needs of artists looking to perfect their digital tattoo designs. These kits include high-quality brushes specifically designed to emulate traditional tattoo techniques, offering the texture and detail necessary for realistic shading.
Advantages of the PRO TATTOO KIT
- Variety and Versatility: The kit includes various brush types that cater to different styles, from soft shading to detailed linework.
- Professional Outcome: Achieve a professional standard in your digital art that mirrors authentic tattoo art.
- User-Friendly Design: Even beginners can benefit from these optimally designed tools that simplify the process of complex shading.
Discover how these tools can redefine your artistic capabilities by checking out the comprehensive guide on Best Tattoo Stencils Procreate for Accurate Placement.
Final Thoughts
By integrating these efficient techniques into your workflow and utilizing high-quality resources like the PRO TATTOO KIT, you will notice a significant improvement in your digital tattoo designs. Whether you’re creating intricate portraits or dynamic abstract designs, realistic shading is the key to making your tattoos stand out. Explore Procreate tools that make you feel like a pro and advance your skills with everything TattooBrushes.com has to offer. Begin your journey toward mastering digital tattoo design today, and watch your art flourish.
FAQs
What are the best brushes in Procreate for realistic shading in tattoos?
Using a combination of soft and hard brushes can provide depth and detail in shading. Brushes such as the Soft Brush for gradients and the Charcoal Brush for texture work well together.
How do I achieve smooth gradients in tattoo shading?
To create smooth gradients, start with a base color and build layers of incremental shades. Use the smudge tool lightly to blend colors together, adjusting opacity as needed.
What is the importance of layering in Procreate tattoo shading?
Layering allows for more control over the shading process, as you can adjust opacity and blending modes for each layer. It also makes it easier to correct mistakes or enhance certain areas without affecting the entire design.
How can I ensure my tattoo shading looks realistic in Procreate?
Study real-life references of shading techniques used in traditional tattoos. Focus on understanding light sources, skin texture, and how shadows interact with the design to achieve realism.
Can I use Procreate’s smudge tool for tattoo shading?
Absolutely! The smudge tool can help blend colors for smoother transitions. It’s important to use it lightly to maintain control over the shading and not lose the definition of your design.
What color palettes work best for realistic tattoo shading?
Earthy tones and muted colors typically yield more realistic effects. Consider creating a custom palette that includes shades ranging from light to dark for greater depth in your shading work.
How important is opacity when shading in Procreate?
Opacity plays a critical role in achieving depth and realism. Start with low opacity to build color gradually, and increase it as needed to create more intense shaded areas.
What techniques can I use to mimic skin texture in Procreate?
Utilizing textured brushes effectively can help replicate the fine details of skin. Additionally, experimenting with different blending modes can enhance the textural elements in your shading.
Should I consider the anatomy of the body when shading tattoos in Procreate?
Yes, understanding the body's anatomy is essential for realistic shading. It helps to account for muscle structure and how it affects shadows and highlights in your tattoo placements.


Leave a comment
This site is protected by hCaptcha and the hCaptcha Privacy Policy and Terms of Service apply.