
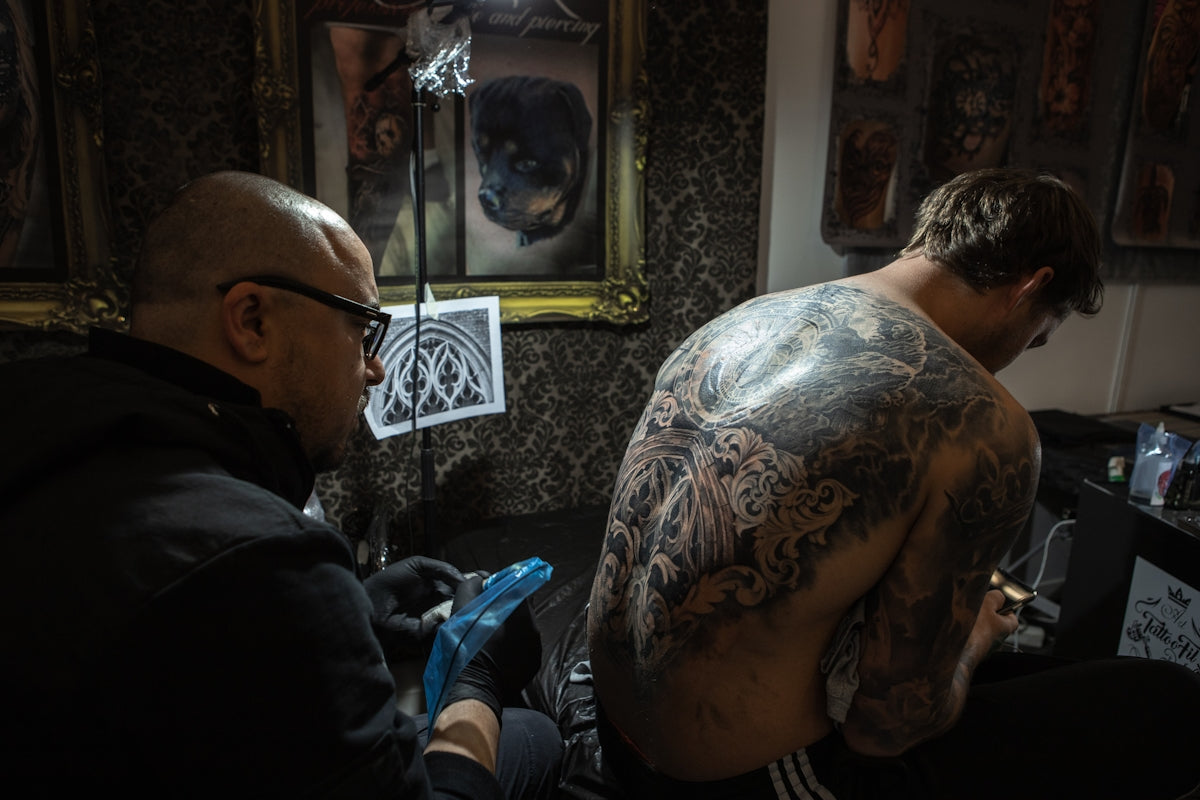
Creating realistic tattoos in a digital space is an incredible skill to master. Whether you're an aspiring artist eager to scale up your digital tattoo design capabilities or a seasoned professional looking to refine your craft, understanding the intricacies of realistic tattoo shading with Procreate brushes is crucial. Our guide will offer step-by-step insights into this artistic process, ensuring your designs stand out. Ready to elevate your artistry? Explore Procreate tools that make you feel like a pro.
Table of Contents
- Table of Contents
- Understanding the Power of Procreate Tattoo Brushes
- Why Choose Procreate for Tattoo Design?
- Step-By-Step Guide to Realistic Tattoo Shading in Procreate
- Step 1: Setting Up Your Canvas
- Step 2: Choosing the Right Brushes
- Step 3: Design Layout and Stenciling
- Step 4: Mastering the Shading Techniques
- Step 5: Layering for Depth
- Step 6: Refinements and Final Touches
- The Importance of High-Quality Tools
- Conclusion
- FAQs
Understanding the Power of Procreate Tattoo Brushes
Procreate has become an invaluable tool for tattoo artists around the world, offering the versatility and depth required for digital tattoo design. The key lies in using the right tools like the PRO TATTOO KIT from TattooBrushes.com, which is crafted to enhance and refine your art. These brushes help in ensuring every stroke, shade, and line embodies realism and depth.
Why Choose Procreate for Tattoo Design?
Procreate offers a dynamic platform for artists by simulating numerous artistic styles and techniques through its adaptable brush settings. For those committed to mastering realistic tattoo shading, the use of high-quality Procreate tattoo brushes is necessary for intricacy and precision.
By leveraging digital tattoo design, tattoo artists can experiment with creativity, enhancing user experience and tattoo planning. Procreate’s layers and blend modes allow for complex shading techniques, which can transform a digital image into a hyper-realistic piece of art.
Step-By-Step Guide to Realistic Tattoo Shading in Procreate
Step 1: Setting Up Your Canvas
Begin by selecting a canvas size that simulates the skin or medium you would be working with in real life. Adjusting your canvas resolution in Procreate is an essential step for ensuring your designs' realism remains high when transferred onto skin.
Step 2: Choosing the Right Brushes
Utilizing the best Procreate tattoo brushes is crucial for achieving realistic shading. The PRO TATTOO KIT provides a comprehensive selection designed exclusively for realism, including various skin textures and depth brushes. For further understanding on precise brush selection, refer to Precision and Depth: Procreate Tattoo Brushes for Artists.
Step 3: Design Layout and Stenciling
Effective stenciling is a foundational component in preparing your tattoo design for shading. Use Procreate's selection and transform tools to align your stencil properly. A precise stencil acts as a roadmap for your shading process. Dive deeper into mastering stencils with our guide on Tattoo Stencils.
Step 4: Mastering the Shading Techniques
With the stencil ready, start shading using Procreate's blend modes for smooth transitions and depth. It’s essential to vary your shading technique by adjusting the opacity and brush pressure. This not only enhances texture but also assists in mimicking the natural shadows observed in realistic tattoos.
Step 5: Layering for Depth
Layering different shades and following the brush's natural flow is key when working with Procreate brushes. Each layer should contribute to the art's depth, stressing highlights and shadows where the tattoo design naturally needs them. Here, the PRO TATTOO KIT can be instrumental in providing the right mix of brushes for depth work.
Step 6: Refinements and Final Touches
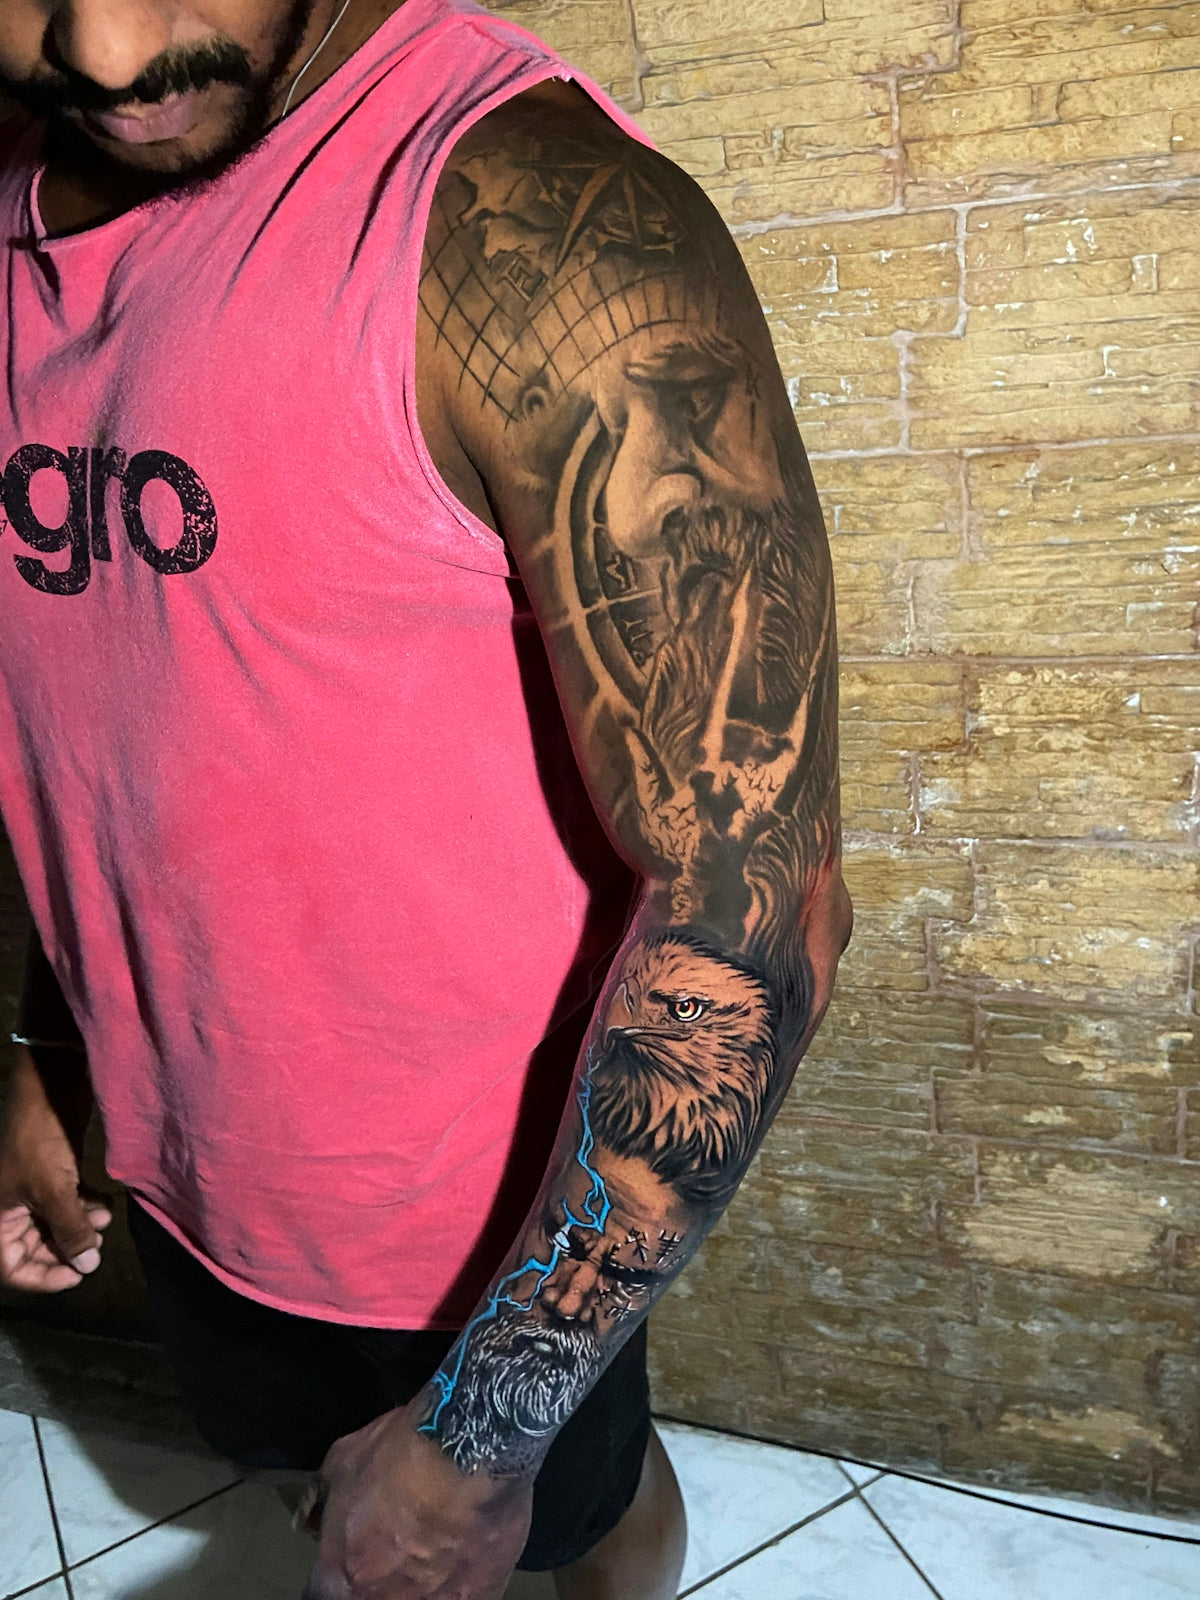
Refine your artwork by attending to minute details that add life to the piece. Subtle additions, like light reflection and textural inconsistencies, can heighten the realism of a tattoo design. Utilize Procreate's variety of textured brushes for final detailing, emphasizing parts of the design that draw attention.
The Importance of High-Quality Tools
Investing in premium tools such as those available at TattooBrushes.com is crucial for improving both technique and output quality when working digitally. The PRO TATTOO KIT stands out as a superior collection, specifically tailored for effective tattoo design, promising reliability and exceptional results.
The journey to mastering realistic tattoo shading with Procreate brushes requires patience, practice, and the right tools. For artists striving to reach new heights in their craft, now is the perfect time to start designing tattoos the right way.
Conclusion
Incorporating these shading techniques with Procreate tattoo brushes can immensely transform your digital art forms into stunning, lifelike designs. With persistency and the correct tools, such as the PRO TATTOO KIT, you can transform your digital artwork into a portfolio full of incredibly realistic tattoos. Enhance your tattoo design process now, and launch into a professional realm of creativity.
Upgrade your artistry today with the premium Procreate tools that will allow your vision to thrive in both reality and the digital landscape. Let TattooBrushes.com be your partner in this artistic journey.
FAQs
What are Procreate brushes for tattoo shading?
Procreate brushes designed for tattoo shading mimic the textures and effects of traditional tattooing tools, allowing artists to create realistic shading and gradients directly on their digital devices.
How do I choose the right Procreate brush for shading?
When selecting a brush, consider the shading technique you want to achieve. Look for brushes that offer varied opacity and texture, as these will help you replicate the look of different shading styles in tattoos.
Can I customize Procreate brushes for my shading needs?
Yes! Procreate allows you to customize brushes by adjusting their settings, such as size, opacity, and grain, to suit your specific style and shading techniques.
What techniques should I use for realistic tattoo shading in Procreate?
Some common techniques include blending, layering different shades, and using a combination of soft and hard brushes to create depth and texture, replicating the traditional tattoo shading approach.
Are there specific color palettes recommended for realistic tattoo shading?
Using muted tones and gradients that mimic the natural skin tones or color theory can greatly enhance your shading. Experimenting with complementary colors can also add dimension to your tattoos.
How can I best practice realistic shading with Procreate brushes?
Regularly sketch and practice using different brushes on various designs. Set aside time to experiment with shading exercises, focusing on areas like gradients, smooth transitions, and light source effects.
Do I need an advanced understanding of digital art to master tattoo shading?
While having a background in digital art can be beneficial, anyone willing to practice and learn can master shading. Start with the basics and gradually incorporate complex techniques as you develop your skills.
What are some common mistakes to avoid when shading tattoos in Procreate?
Some common mistakes include over-blending colors, using too much pressure, and forgetting about the light source. It's important to keep your shadows consistent and practice control over your brush strokes.
Can I apply my Procreate shading techniques to traditional tattooing?
Absolutely! The techniques and principles you learn in Procreate can be transferred to traditional tattooing. Understanding shading and how to apply visual depth will enhance your real-world tattoo skills.

Leave a comment
This site is protected by hCaptcha and the hCaptcha Privacy Policy and Terms of Service apply.