
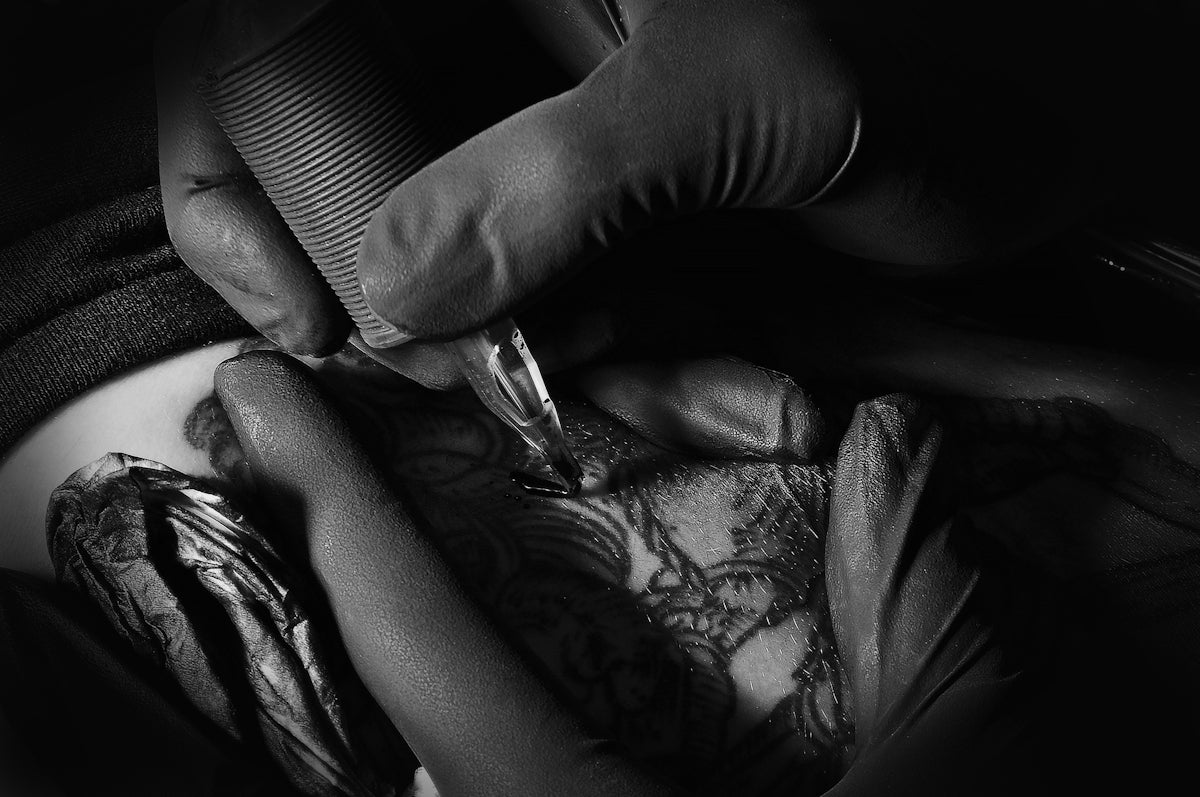
The world of digital tattoo design has taken a transformative leap forward with the advent of powerful tools like Procreate. Whether you're an aspiring tattoo artist eager to perfect your first digital design or a seasoned professional looking to elevate your craft, the right tools and techniques make all the difference. In this comprehensive guide, we are diving into advanced digital tattoo shading techniques using Procreate, focusing on achieving realistic, professional-level results. Explore Procreate tools that make you feel like a pro by visiting TattooBrushes.com.
Table of Contents
- Table of Contents
- Unlocking the Power of Procreate Tattoo Brushes
- Laying the Groundwork: Best Practices for Procreate Shading
- Techniques for Realistic Tattoo Shading in Procreate
- 1. Building Gradients Slowly
- 2. Circular and Cross-hatching Techniques
- 3. Combining Brush Strokes with Blending
- Creating Tattoo Stencils with Precision
- The Importance of Practice and Feedback
- Why the PRO TATTOO KIT?
- Conclusion: Upgrade Your Art Today
- FAQs
Unlocking the Power of Procreate Tattoo Brushes
Before we delve into shading techniques, it's crucial to discuss the engine that powers your art—the Procreate tattoo brushes. When selecting your tools, quality counts. For those serious about digital tattoo design, the PRO TATTOO KIT available at TattooBrushes.com is crafted to meet the needs of professionals who demand the best.
To kickstart your journey, check out our Guide to Procreate Tattoo Brushes for Beginners for a solid foundation.
Laying the Groundwork: Best Practices for Procreate Shading
- Understand Light Sources: Digital shading is all about mimicking real-world lighting. Study your reference images to understand the direction and intensity of light.
- Layer Management: Keep your layers organized. Use separate layers for the base sketch, linework, shading, and detailing. This not only helps in maintaining a clean workspace but also allows for flexibility in adjustments.
- Choosing the Right Brushes: Utilize specialized brushes such as those in the PRO TATTOO KIT for shading. These brushes replicate the feel of real-world tattoo shading equipment, providing both breadth and precision.
Techniques for Realistic Tattoo Shading in Procreate
1. Building Gradients Slowly
A successful tattoo shading effect is often the result of gradual build-up. Start with a light touch and increase the darkness incrementally. This technique prevents over-saturation and helps maintain control over the shading depth.
2. Circular and Cross-hatching Techniques
When shading in traditional mediums, circular and cross-hatching techniques are extensively used. These techniques can be effectively translated into digital artwork using the right Procreate brushes. Referencing our Best Procreate Tattoo Brushes for Intricate Designs can provide insight into selecting brushes designed for such techniques.
3. Combining Brush Strokes with Blending
The beauty of digital shading in Procreate is the ability to blend seamlessly. Use the smudge tool to blend different shades smoothly, but remember to maintain some texture to avoid creating a synthetic look.
Creating Tattoo Stencils with Precision
Creating an effective stencil is a critical step in the tattoo process. Procreate offers robust tools for crafting precise stencils that mirror traditional methods with exceptional accuracy. Delve deeper into these techniques with our guide on Achieving Perfect Tattoo Stencils with Procreate.
The Importance of Practice and Feedback
Like traditional tattooing, digital shading requires practice. The more you practice, the more intuitive the techniques become. Engage with online communities or peer groups to get constructive feedback on your artwork.
Why the PRO TATTOO KIT?
Investing in professional-grade tools like the PRO TATTOO KIT is not just about the initial purchase—it's about setting yourself up for success. These tools are engineered for artists who are serious about perfecting their technique and producing high-caliber artwork.
Conclusion: Upgrade Your Art Today
Leveraging advanced digital tattoo shading techniques with Procreate can significantly elevate your art, opening doors to a broader clientele and personal satisfaction. Whether starting from scratch or honing your skills, Procreate in combination with high-quality tools such as the PRO TATTOO KIT from TattooBrushes.com empowers artists at every level. Start designing tattoos the right way and watch as your creations reach new heights of realism and artistry.
For more insights, expert tips, and the best tools to enhance your digital tattoo artistry, visit TattooBrushes.com.
FAQs
What are the basic settings I need to adjust in Procreate for digital tattoo shading?
To achieve optimal shading in Procreate, start by setting your brush opacity to around 70-90% for soft shading and 100% for strong shadows. Adjust the flow to around 50% for a gradual build-up of color, and experiment with the pressure curve in the Pressure settings to suit your style.
Can I use Procreate brushes specifically made for tattoo shading?
Yes, there are various Procreate brushes designed specifically for tattoo artists that mimic traditional shading techniques. Look for brushes labeled for shading or those that replicate the textures of inks to enhance your digital tattoo projects.
What techniques can I use for smooth shading in Procreate?
To create smooth shading, use a combination of layering and blending. Start with a base color, then add shadows and highlights on new layers. Use the smudge tool gently to blend colors together, and consider using the Gaussian Blur feature for even smoother transitions.
How can I achieve realistic skin textures in my digital tattoos?
To mimic skin textures, utilize textured brushes that replicate skin patterns. Pay attention to the direction of your strokes, and experiment with varying opacity and flow settings. Consider adding subtle variations in color to simulate natural skin tones.
What is the importance of layer management in Procreate for tattoo shading?
Layer management is crucial in Procreate as it allows for non-destructive editing. By using multiple layers for different elements, you can easily adjust, move, or erase portions of your shading without affecting other parts of your artwork.
How can I use color dynamics to enhance my tattoo shading?
Using color dynamics can add depth and realism to your tattoos. Explore different color palettes and incorporate subtle hues into your shading. Adjust the hue, saturation, and brightness settings within your brush to create varied tones and shadows that mimic real-life skin and ink interactions.
Are there shortcuts to speed up the tattoo shading process in Procreate?
Yes, Procreate offers shortcuts such as quick selecting layers, using duplication to create variations, and utilizing customizable brush shortcuts for frequently used shading techniques. Familiarizing yourself with gestures can also significantly speed up your workflow.
How can I practice my digital tattoo shading skills effectively?
The best way to practice is by recreating traditional tattoo designs digitally. Choose a reference and break down the shading into basic shapes. Regularly experiment with new brushes and techniques to expand your skill set and find your unique style.
What resources can I use for learning more advanced shading techniques in Procreate?
Explore online tutorials, art forums, and social media platforms where artists share their techniques and tips. Consider following digital tattoo artists on platforms such as Instagram and YouTube for step-by-step guides and inspiration for your own tattoo shading practice.


Leave a comment
This site is protected by hCaptcha and the hCaptcha Privacy Policy and Terms of Service apply.