
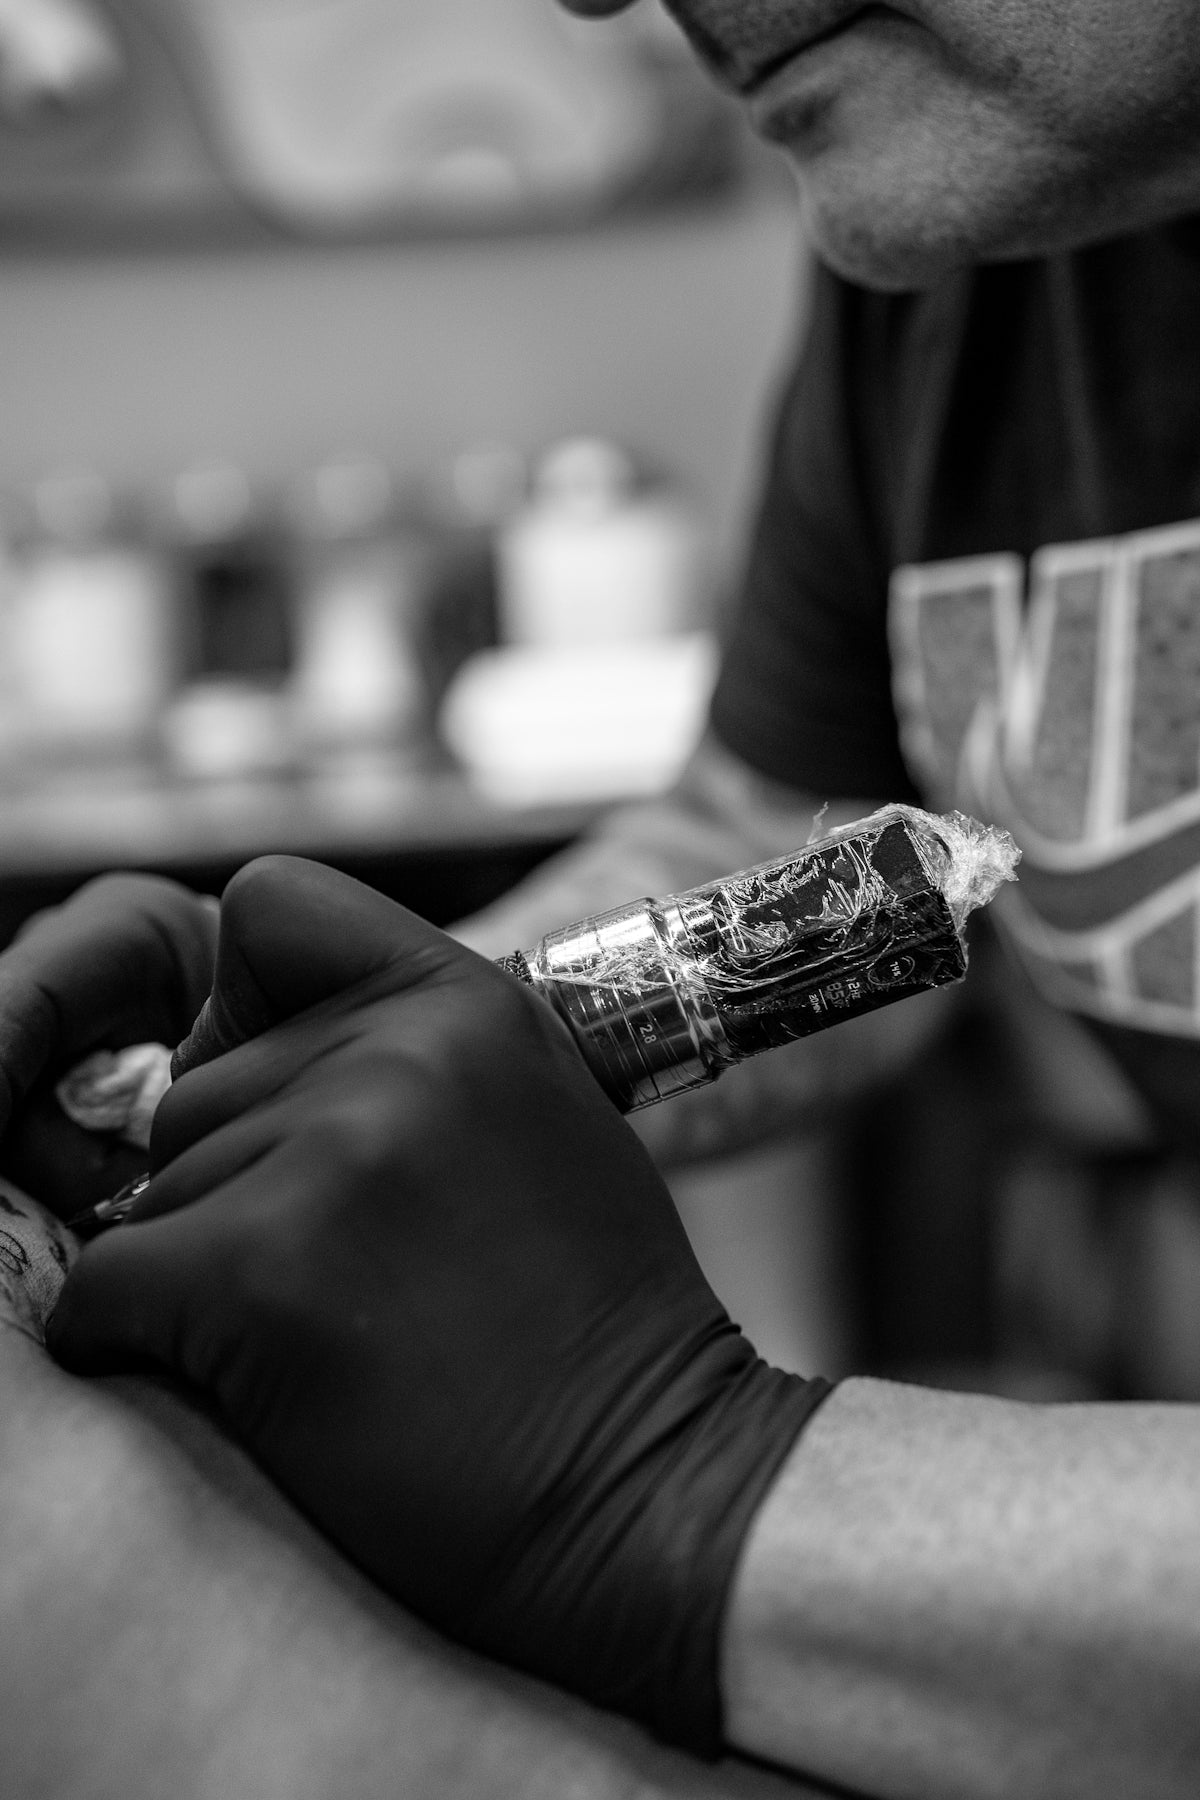
Shading is the soul of tattoo art, giving your designs depth, dimension, and striking realism. Whether you're an aspiring artist or a seasoned professional, mastering shading techniques can dramatically enhance your tattoo creations. Today we'll explore advanced techniques for realistic shading in Procreate, empowering you to elevate your digital tattoo design to a new level. Ready to start designing tattoos the right way? Explore Procreate tools that make you feel like a pro.
Table of Contents
- Table of Contents
- The Art of Realistic Shading
- Essential Tools for Procreate Tattoo Shading
- Recommended Brushes
- Step-by-Step Techniques for Realistic Shading
- 1. Understanding Light Source
- 2. Layer Management
- 3. Building Depth with Gradients
- 4. Texture Variation
- 5. Incorporating Detailing
- 6. Utilizing Reference Images
- Practice Makes Perfect
- Conclusion: Empower Your Art
- FAQs
The Art of Realistic Shading
Shading is all about creating gradients, contrasts, and textures that mimic real-life intricacies. In digital tattoo design, this translates to skillfully using the right Procreate tattoo brushes to achieve those effects. But before delving into specific techniques, let's understand the foundational tools of the trade.
Essential Tools for Procreate Tattoo Shading
To create dynamic and realistic shading, you'll need the best tattoo stencils and brushes available. The 'PRO TATTOO KIT' from TattooBrushes.com offers a comprehensive selection of high-quality, professional-standard tools designed to elevate your art. Start by exploring our Ultimate Guide to Procreate Tattoo Brushes and Stencils to get acquainted with the best tools for the job.
Recommended Brushes
- Soft Shader Brush: Perfect for creating smooth transitions between dark and light areas.
- Grainy Shading Brush: Adds a textured finish, mimicking the realistic complexity of skin.
- Detailing Brush: For those intricate lines and shadow details.
For beginners, our Five Essential Procreate Tattoo Brushes for Beginners offer a great starting point.
Step-by-Step Techniques for Realistic Shading
With your tools ready, let's walk through some advanced shading techniques with clear, actionable steps.
1. Understanding Light Source
A realistic design begins with a consistent light source. Before shading, determine where the light is coming from in your design. This will dictate where highlights and shadows should be placed, creating a coherent and true-to-life appearance.
2. Layer Management
Effectively managing layers is crucial. Create multiple layers for your shading, highlights, and details. This not only helps in adjusting specific areas without affecting the entire design but also boosts your workflow efficiency.
3. Building Depth with Gradients
- Start from the base layer, using a Soft Shader Brush.
- Gradually build up the intensity by layering darker shades over light ones.
- Use the opacity slider to adjust the transparency of your strokes, offering smoother transitions.
This approach helps achieve the depth and dimension crucial for realistic designs.
4. Texture Variation
Using the Grainy Shading Brush, add texture variation to simulate different skin tones and the natural roughness of tattooed skin. Be mindful of not over-texturing; subtlety is key.
5. Incorporating Detailing
For fine lines and intricate shading details, switch to the Detailing Brush. Pay attention to edges and fine lines where shadows naturally deepen. Remember, the devil is in the details!
6. Utilizing Reference Images
Work alongside reference images to understand natural shadow placements and textures. This practice will sharpen your observational skills and guide your digital rendering.
Practice Makes Perfect
As with any skill, practice is essential. Experiment with different brushes from the 'PRO TATTOO KIT' and continue refining your technique. Our Achieve Flawless Shading: Best Procreate Tattoo Brushes is a valuable resource for stepping up your game.
Conclusion: Empower Your Art
Realistic tattoo shading in Procreate requires equal parts patience, practice, and the right tools. With a solid grasp of shading fundamentals and the best equipment on hand, you're ready to take your art to unprecedented levels. Empower your creative journey and leave every client in awe. Explore Procreate tools that make you feel like a pro.
Remember, the only limit is your imagination. Keep evolving, and happy tattooing!
FAQs
What are some advanced techniques for creating realistic shading in Procreate?
To achieve realistic shading in Procreate, consider techniques such as soft blending using the Smudge tool, layering different opacities of colors, and utilizing custom brushes designed for shading. Experimenting with light sources and shadow placement can also enhance the depth of your artwork.
How can I effectively use the Smudge tool for shading?
The Smudge tool can create seamless transitions between colors when shading. To use it effectively, select a soft brush and adjust the opacity to a lower setting. Gently drag across edges where two colors meet to create a gradual blend, mimicking natural shadows and highlights.
What brushes work best for realistic shading in Procreate?
Brushes that mimic traditional art tools, such as watercolor and oil brushes, are excellent for realistic shading. Look for brushes that have a soft edge and allow for building up layers gradually. Custom brushes dedicated to shading can also provide unique textures and effects.
How important is understanding light and shadow for realistic shading?
Understanding light and shadow is crucial for creating a three-dimensional effect in your artwork. Observing how light interacts with different surfaces can help you accurately place highlights and shadows, which makes your shading appear more lifelike and dynamic.
Can I use texture overlays for shading in Procreate?
Yes, texture overlays can enhance the realism of your shading. By incorporating textures such as paper grain or fabric patterns, you can add depth and interest to your artwork. Make sure to adjust the opacity and blend modes to ensure they complement rather than overpower your shading.
What techniques can help me create smoother gradients in my shading?
For smoother gradients, practice using the Airbrush tool or soft brush settings. Layer your colors gradually, starting with lighter tones and building up to darker ones. Additionally, using the Gaussian Blur feature can help achieve a soft gradient effect between different shades.
How can I improve my shading skills in Procreate?
Improving your shading skills requires practice and experimentation. Try replicating real-life objects or reference images to understand how light interacts with different shapes. Participating in online challenges or tutorials can also accelerate your learning and provide constructive feedback.
What is "clipping masks," and how can they assist in shading?
Clipping masks allow you to create shading on separate layers without affecting the base layer. By creating a clipping mask over your artwork, you can easily adjust the shadows and highlights without losing the integrity of the original image. This technique offers flexibility and control over your shading process.
Are there any recommended color palettes for realistic shading?
Using a limited color palette that includes a range of tones from light to dark can help create more cohesive and realistic shading. Consider choosing colors that reflect the subject and utilize complementary hues to create dimension and depth in your shading work.

Leave a comment
This site is protected by hCaptcha and the hCaptcha Privacy Policy and Terms of Service apply.